How to extend PGP expiry date with Enigmail / Thunderbird
Open the Key Management window
In Thunderbird, select the Enigmail menu, then select Key Management
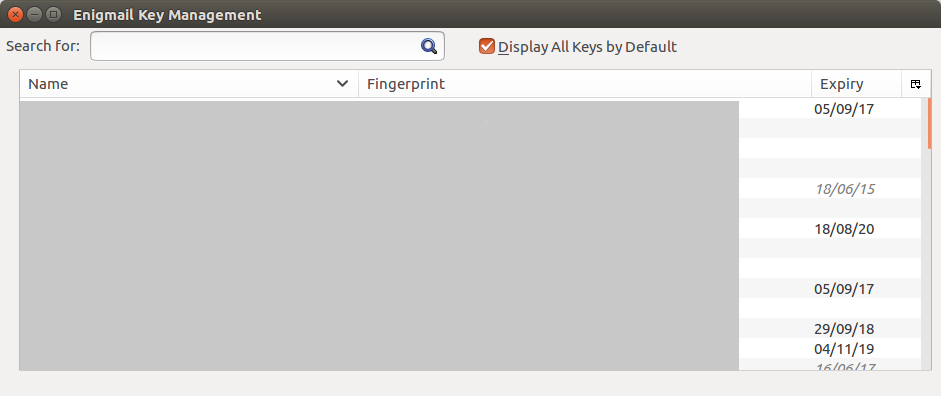
You should see a list of keys that you’ve contacted.
TIP: I like to display Name, Fingerprint and Expiry as columns. By default Enigmail shows the unsafe, short Key ID which we should ignore. You can tweak the columns by pressing the little button on the right of the column headers.
Find your own key
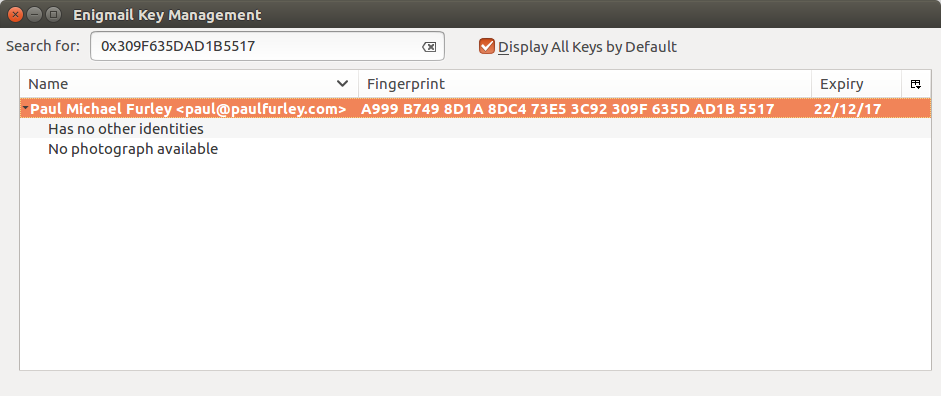
Search for your long key ID, for example 0x309F635DAD1B5517 in the Search for box. You should see your key:
Change expiration date
Right click on your key and select Change Expiration Date. You should see a window like this:
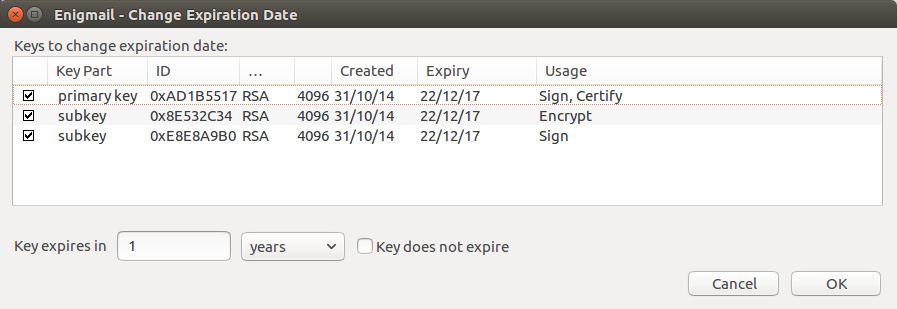
Make sure your primary key and subkeys are selected.
Choose a time period. I personally recommend 3 months to 1 year.
Select OK and follow the prompt.
Push your updated key to the keyservers
To tell the world about your new key expiry date, you’ll need to send it to the keyservers
Right click on the key and select Upload Public Keys to Keyserver
Remind your contacts refresh their keys
Your contacts will need to get your updated key from the keysevers by refreshing their keys. Some software does this automatically.
In any case, if a contact says your key has expired, you’ll know what to tell them.
If this didn’t work, you could alternatively try the GnuPG guide.
{% include help_support_expirybot.markdown %}